Creating homemade tattoo ink can be an intriguing project for enthusiasts who prefer a DIY approach. However, crafting tattoo ink involves careful consideration of safety, hygiene, and legality. This guide will cover the necessary safety precautions, materials, step-by-step instructions, methods, testing, and legal and ethical considerations for making black tattoo ink at home.
Safety Precautions
When making black tattoo ink, maintaining strict hygiene and sterilization practices is crucial. Tattooing involves injecting ink into the skin, which creates a risk of infection if the ink is not properly sterilized. Here’s why these practices matter:
Preventing Infection: Contaminated ink can introduce harmful bacteria or pathogens into the skin, leading to infections.
Ensuring Quality: Proper sterilization ensures that the ink is safe and consistent in quality.
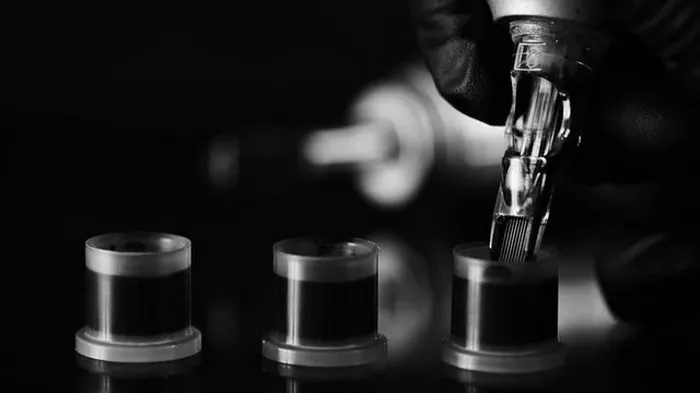
Use of Gloves, Masks, and Clean Equipment
Gloves: Always wear disposable gloves while handling ingredients and equipment to prevent contamination.
Masks: A mask helps prevent inhalation of any potentially harmful particles or fumes.
Clean Equipment: Use sterilized or disposable tools and containers to avoid cross-contamination. Clean all reusable equipment thoroughly before use.
Potential Risks and How to Mitigate Them
Infection Risk: Ensure all equipment and ingredients are properly sterilized. Use high-quality, uncontaminated materials.
Skin Reactions: Perform a patch test before using the ink to check for allergic reactions or skin sensitivities.
Consistency Issues: Incorrectly mixed ink can result in an inconsistent tattoo. Follow instructions precisely to achieve the right consistency.
Materials Needed
List of Ingredients
Wood Ashes: Used in some traditional methods to create black pigment.
Clear Spirits: Such as vodka or rubbing alcohol, used as a solvent and preservative.
Lamp Black: A common pigment source for making black ink.
Egg Yolk: Used in some recipes to bind the pigment and enhance the ink’s consistency.
Gum Arabic: A natural gum used as a binder in some recipes.
Honey: Acts as a natural preservative and binding agent.
Tools Required
Blender: For mixing pigments and liquids.
Containers: Sterilized glass or plastic containers for mixing and storing ink.
Mixing Tools: Sterilized spoons, spatulas, or stirring rods.
Sieve or Filter: To strain the ink mixture for a smooth consistency.
Step-by-Step Instructions
1. Making Ink from Wood Ashes
Prepare Ashes: Burn hardwood until you obtain fine ash. Sift the ash to remove large particles.
Mix Ash with Spirits: In a clean container, mix the sifted wood ash with clear spirits. The spirits help dissolve the pigment from the ash.
Strain the Mixture: Use a sieve or filter to strain the mixture, ensuring a smooth consistency.
Adjust Consistency: Add more spirits or ash as needed to achieve the desired consistency and pigmentation.
2. Using Dry Ink Pigment
Select Pigment: Purchase high-quality black ink pigment or lamp black from an art supply store.
Mix Pigment with Spirits: Combine the pigment with clear spirits in a container. Stir until fully dissolved.
Adjust Pigmentation: Add more pigment if needed to reach the desired depth of color.
3. Creating Lamp Black Ink
Prepare Lamp Black: Lamp black can be obtained from soot collected from burning oil lamps. Ensure it is finely ground.
Mix with Spirits: Combine lamp black with clear spirits in a clean container.
Stir Thoroughly: Mix well until the pigment is completely dissolved.
SEE ALSO: How Much Is a Full Chest Tattoo
Alternative Recipes
Using Egg Yolk and Gum Arabic:
Mix Ingredients: Combine egg yolk with gum arabic and a small amount of black pigment or soot.
Blend: Blend thoroughly until smooth.
Adjust Consistency: Add more pigment or gum arabic as needed.
Using Honey:
Mix with Pigment: Combine honey with black pigment and spirits.
Stir and Adjust: Blend until smooth, adjusting consistency and pigmentation as needed.
Tips for Achieving the Right Consistency and Pigmentation
Test Consistency: The ink should be smooth and not too thick or too runny.
Check Pigmentation: Ensure the ink is dark enough by testing a small amount on paper before use.
How to Store the Ink Properly
Use Airtight Containers: Store the ink in sterilized, airtight containers to prevent contamination.
Keep in a Cool, Dark Place: Store the ink away from direct light and heat to preserve its quality.
Different Methods
Making Ink from Wood Ashes
This traditional method involves burning wood and using the ashes to create ink. The process is detailed above and results in a unique, historical ink.
Using Dry Ink Pigment
This method is straightforward and uses pre-made black pigment mixed with spirits. It offers a reliable and consistent result.
Creating Lamp Black Ink
Using lamp black involves collecting soot from burning lamps and mixing it with spirits. This method provides a rich, deep black ink.
Alternative Recipes
Combining ingredients like egg yolk and gum arabic can create a different texture and consistency, often used in historical recipes.
Testing and Usage
How to Test the Ink for Quality and Safety
Patch Test: Apply a small amount of ink on a small area of skin to test for allergic reactions or skin sensitivities.
Consistency Check: Test the ink on paper or a similar surface to ensure it is smooth and provides the desired color.
Potential Issues and Troubleshooting Tips
Inconsistent Color: If the color is not consistent, adjust the pigment or mixing ratio.
Ink Separation: If the ink separates, shake or stir well before use.
Conclusion
Creating black tattoo ink at home can be a rewarding endeavor, but it requires careful attention to safety, quality, and legal issues. By following these guidelines, you can make informed decisions and produce ink that meets your needs while prioritizing health and safety.
Related Topics